Cabinet Painting How To

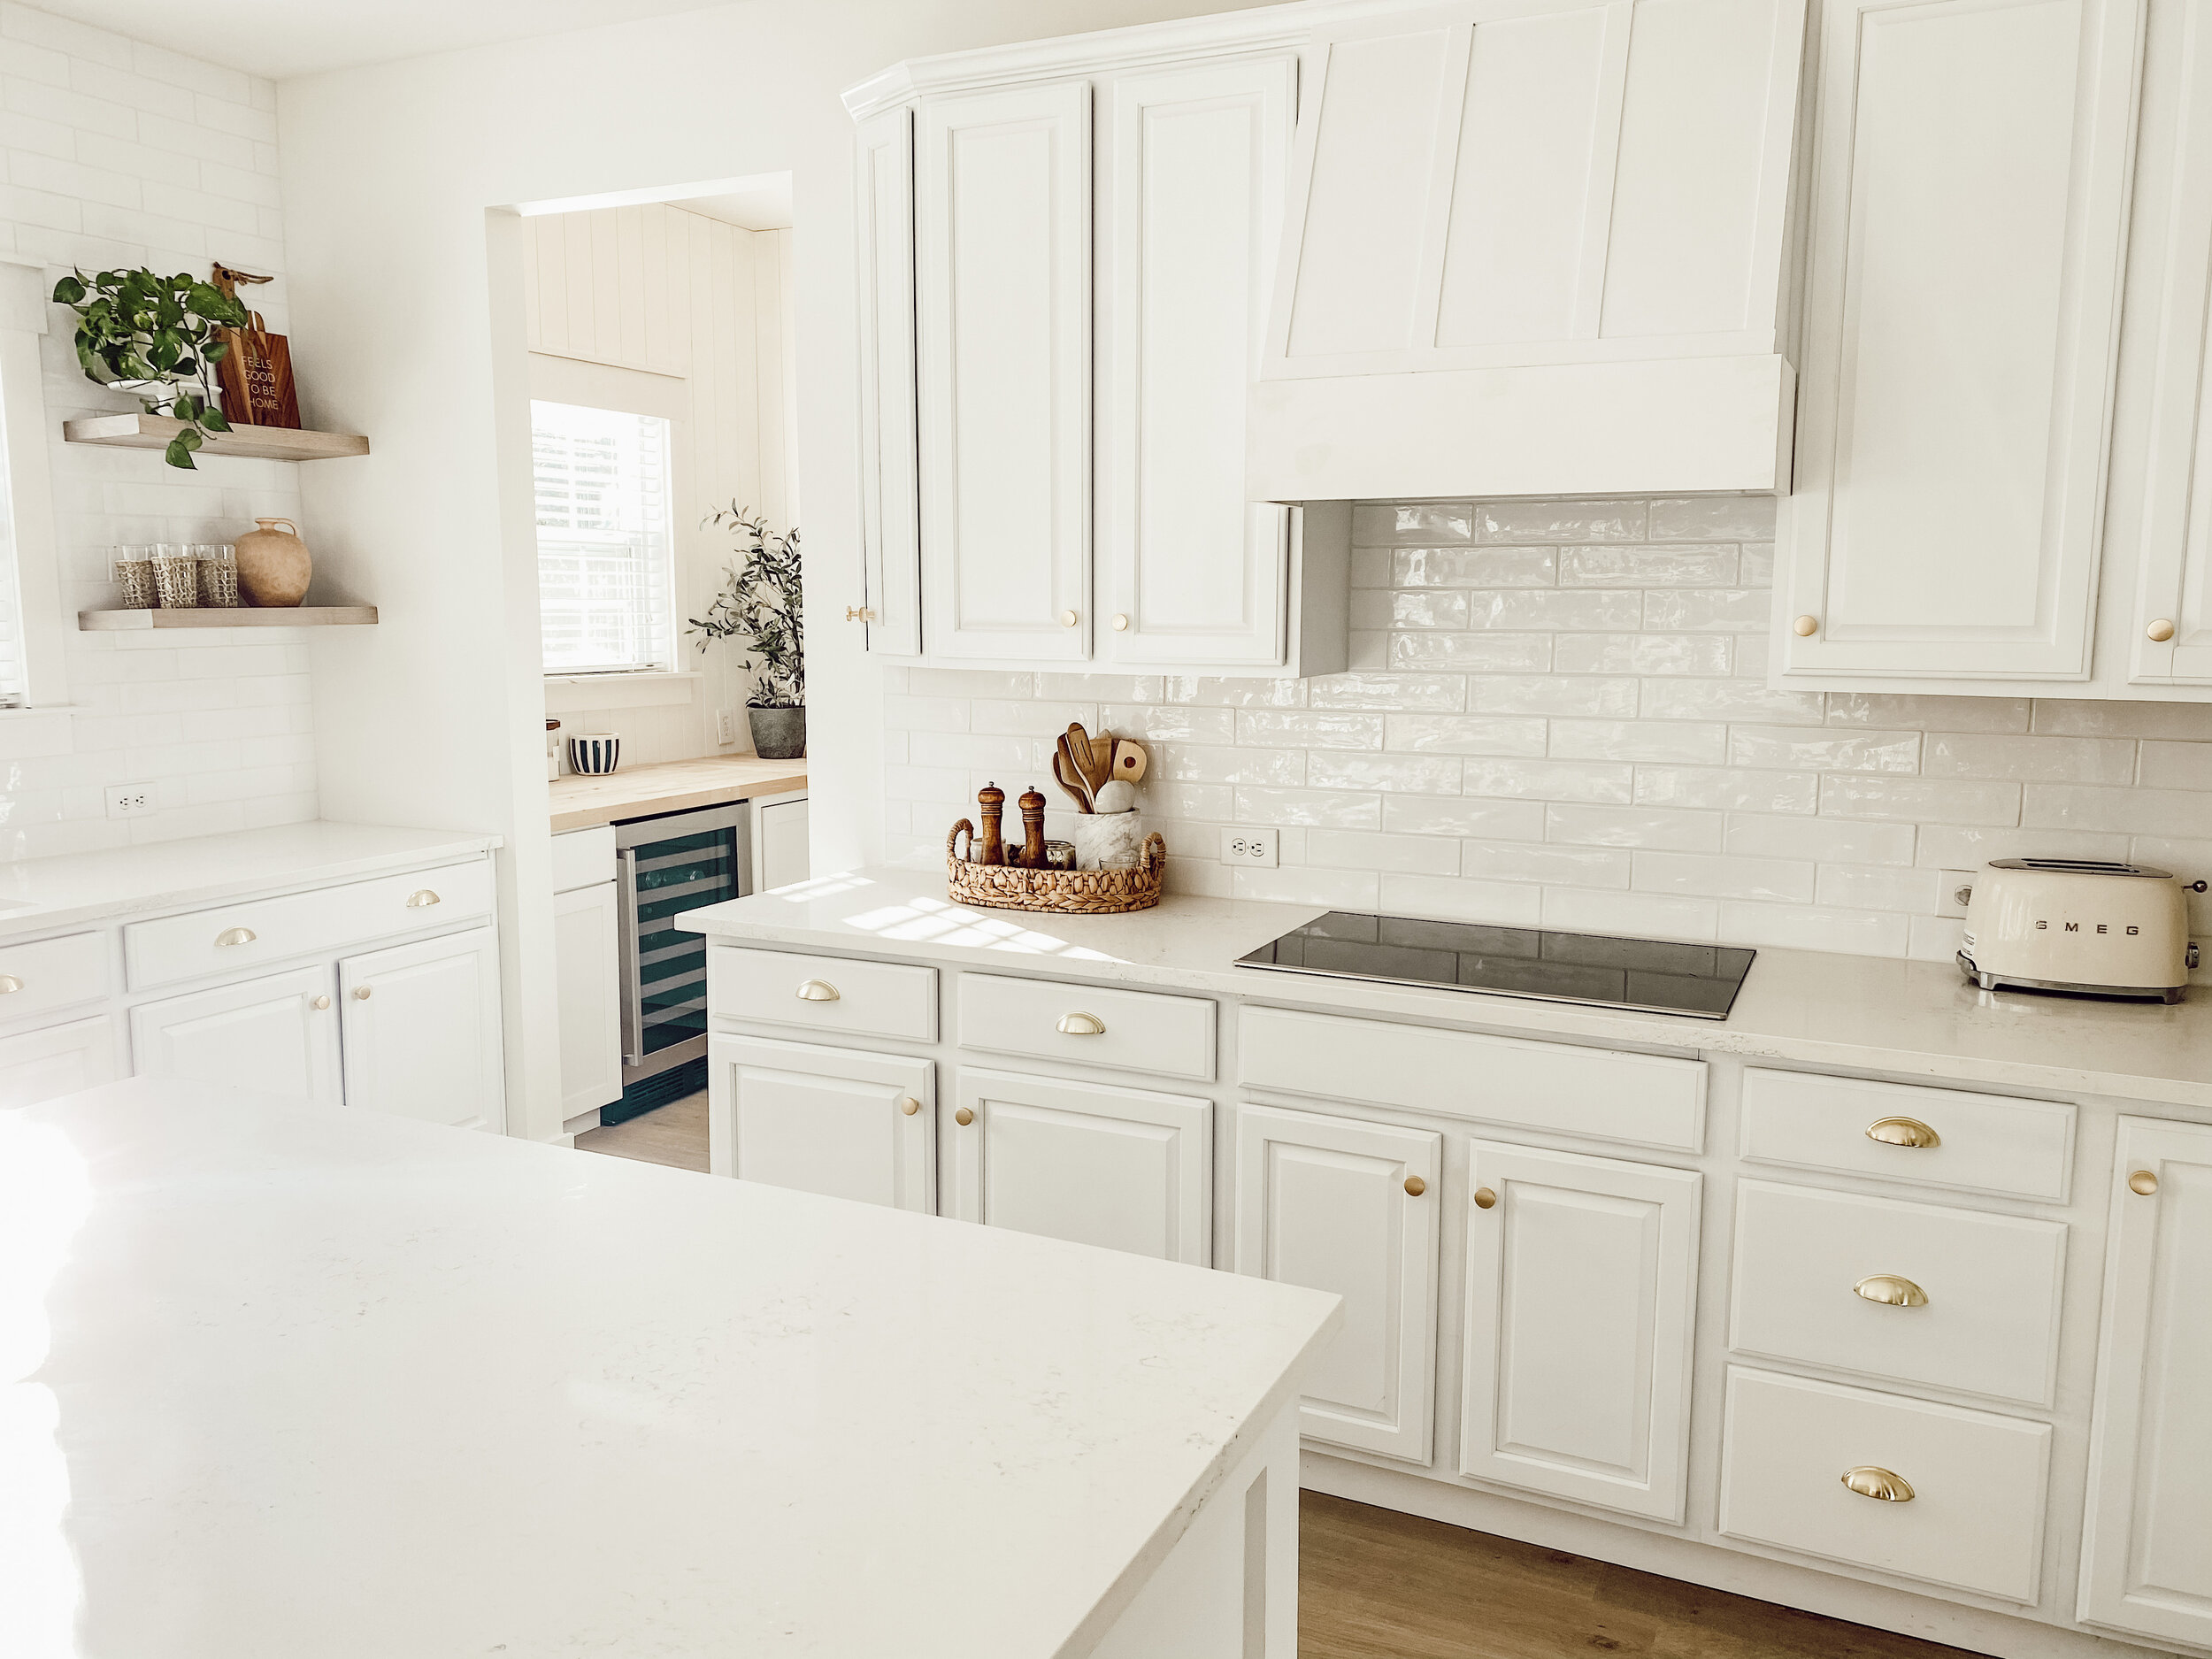
The question I get asked most about is painting cabinets. We have remodeled a few homes over the years and for every kitchen and bathroom, I always have to paint the cabinets. After buying our first home, we got quoted for painting the cabinets....it was in the thousands. At that time, we didn’t have a lot of money to spend on cabinets because we were getting the house painted already. That’s when I decided to research how to paint cabinets an easy way. I will be honest, I didn’t find much that was "beginner” because in reality it takes lots of work. In the end it is so worth it though. We saved a TON of money. I think the most we spent is $200 to paint the kitchen cabinets. Our first two homes, we used paint brushes; now on the third, we decided to spray them so they had a smooth finish.
I will tell you, using a brush takes longer but with a lot of the self-leveling paints now, it turns out very nice. This is a good option if you do not feel comfortable spraying the cabinets.
Next, I’m going to walk through my process for painting cabinets.
Here are the materials needed:
2 paint brushes; one for primer, the other for paint.
Primer (I prefer the KILZ brand)
Cabinet Paint (I have only used Sherwin Williams or Benjamin Moore’s cabinet paint.)
Deglosser
Degreaser
Medium and fine sanding blocks
Ziploc bags
Screwdriver
Gloves
Microfiber cloths
**If using a sprayer I recommend getting a pop-up painting tent and Lazy Susan to help spin the doors.

Step 1: When taking off doors and drawer fronts, assign them numbers and put all of their hardware into a Ziploc bag with the same number. Also label the back of drawer fronts as top or lower.
**So it would be top cabinet 1 and bag 1. This will make it easier.
Step 2: Use the degreaser. This step is probably pretty self-explanatory. All you need to do is give the doors a good clean!
Step 3: I like to degloss the cabinets doors. You will want to use gloves. Wipe doors down with deglosser. Let it all dry.
Step 4: I then use a sanding block and lightly sand everything. Just a light sanding is all you really need - the deglosser has already helped get most of the gloss off. After sanding, wipe down all drawers, cabinet doors and base.
I use a sprayer for the next few steps.
If using a brush, you will need to have a whole area prepped to lay doors. The easiest way we have done this is take a few 2x4s, lay them in our garage or outdoor area and then lay the cabinet drawers/doors on top. You can use 2x4s or tarps when using the spray gun as well.
**When using a sprayer, this is where we ended up using a pop-up spray tent and a cheap Lazy Susan. This way we were able to spin the doors. (We put the Lazy Susan on top of an old table)
Step 5: Prime the doors. We used KILZ primer for this step. After each door we set them on the drying area. We used a brush to paint the cabinet bases.
Step 6: I know, I know! More stuff to do, but we are getting to the last couple steps. At this point, we used the sprayer to paint. As I mentioned before, Benjamin Moore and Sherwin Williams are self-leveling. We let everything dry for 24 hours, then we did a second coat. We only needed 2 coats, but do as many as need allowing ample drying time between coats.
Step 7: After you have finished the last coat, let the doors dry a few days. Most of the time we let ours dry 3 full days. Then we put them back up and since we labeled everything, it goes pretty quickly. Then, we re-attach the hardware(handles). It takes about two weeks to completely cure.
And that’s it! Yes, there are a lot of steps, but we have done this so many times and have found this is the way they will both last and look the best.
Remember to keep leftover paint on hand for touch-ups. I hope this helps and you feel comfortable doing it on your own. If there is anything else you would like to know, please feel free to send questions.
Xoxo
Andrea